 HO Scale USA Home
Layout
HO Scale USA Home
Layout

|
HO Scale USA Home
Layout
|
Seite 2
| Bau des Bogen-Moduls mit dem Bauhof
|
||
|
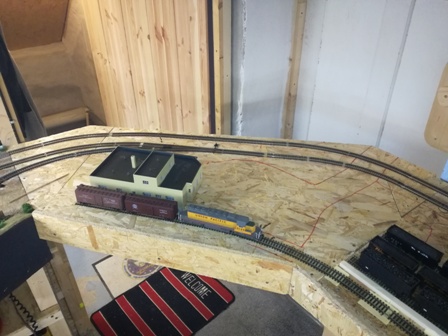
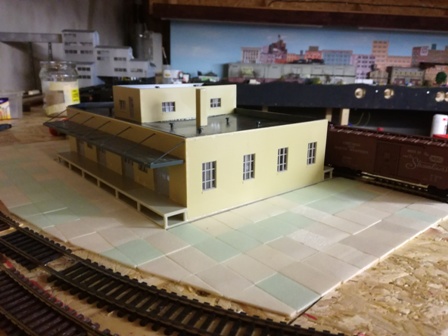
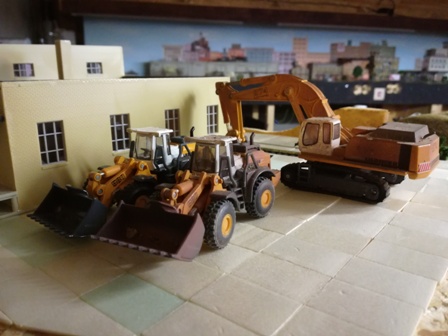
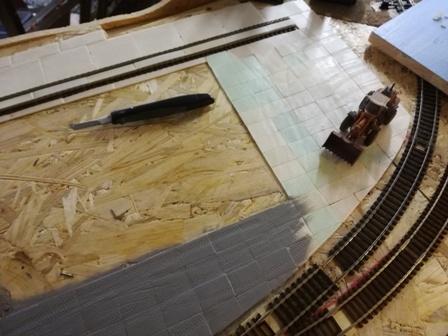
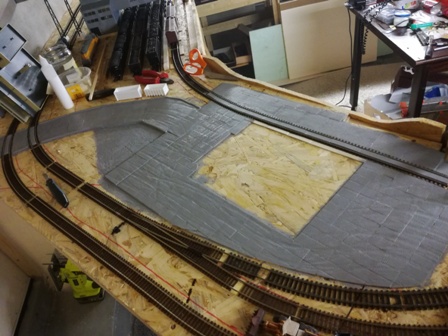
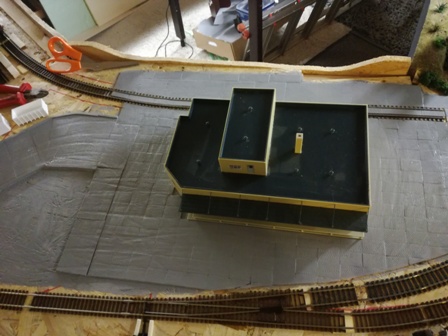
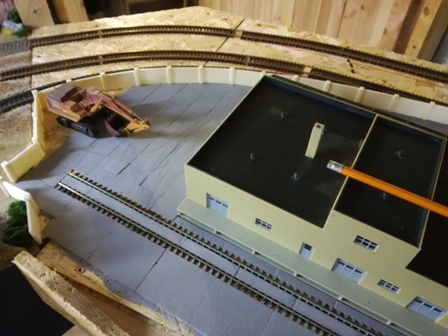
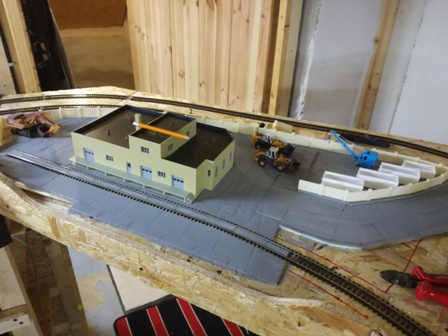
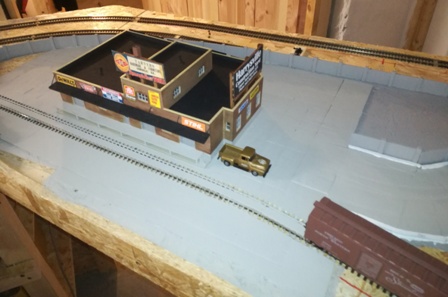
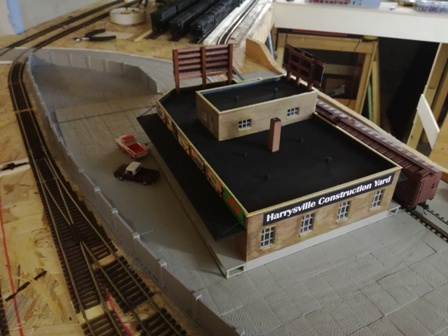
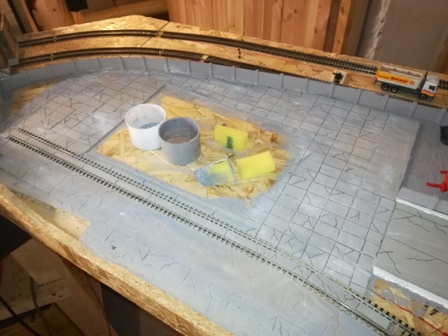
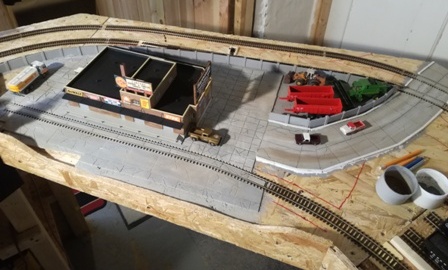
Die Idee ist, hier kommt ein großer Bauhof hin. Dieser hat Materialien für die Stadt Harrysville und für alle Bauvorhaben welche noch anliegen. Die Zufahrt erfolgt über ein Nebengleis von der Kohlenmine. Der Bauhofplatz wird mit Betonplatten ausgestattet, wobei ein Teil, wo die Schüttbunker und die Containermulden stehen wird normaler Schotter und Erdboden das Gelände gestalten. Die Betonplatten sind aus 2mm starken Styrodur geschnitten und haben das Maß von 2x4cm. Diese habe ich dann mit Holzleim einzeln aufgeklebt. Das Gebäude ist von Wahlters.
|
 |
 |
 |
 |
 |
 |
 |
 |
 |
 |
|
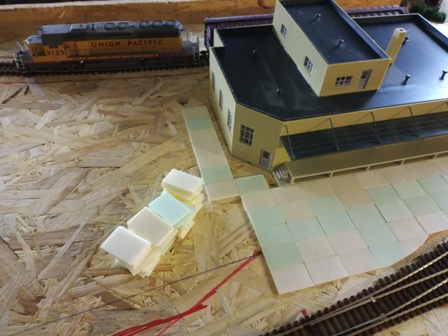
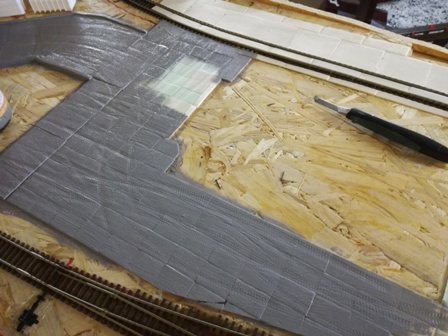
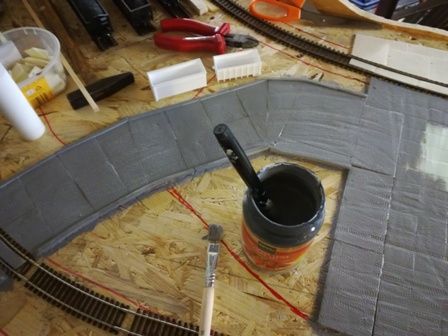
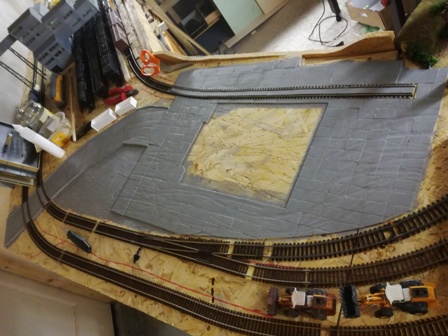
| Anschließend wurde noch die Zufahrtsstrasse, ebenfalls aus 2mm dicken Styrodurplatten in dem Maß 5x5cm verlegt. Danach alles mit einem Grauton gestrichen
|
||
 |
 |
 |
 |
 |
 |
 |
 |
 |
 |
||
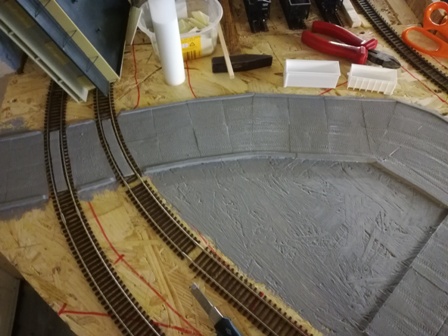
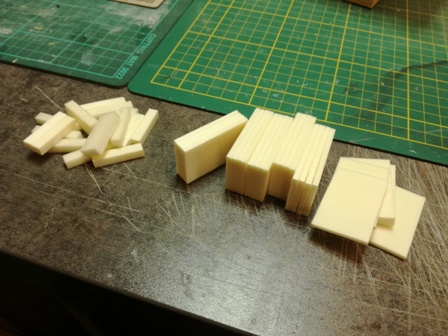
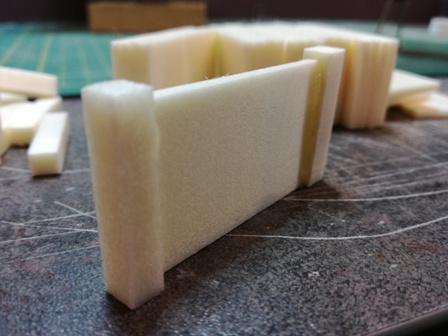
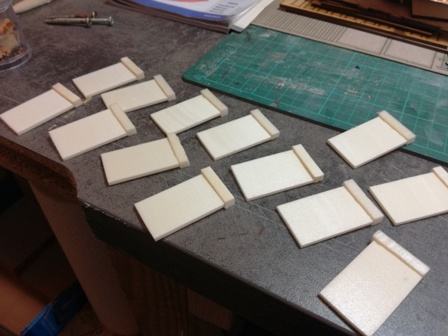
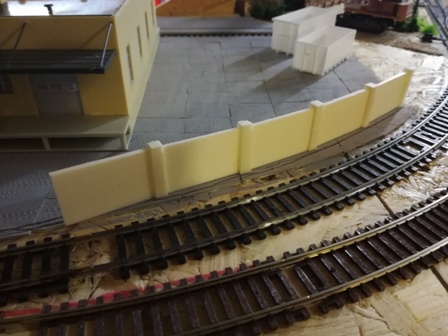
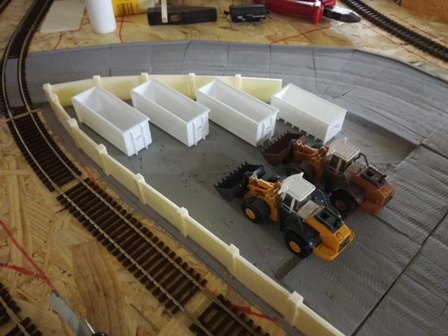
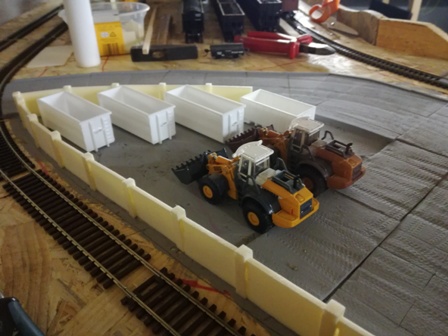
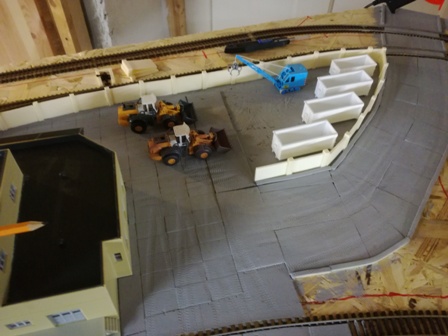
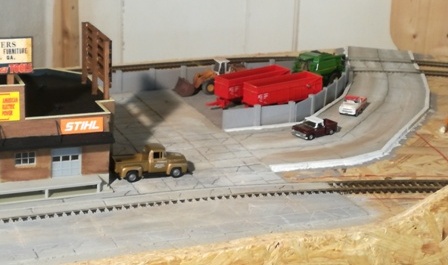
| Nachdem nun alles getrocknet war, konnte ich nun die Betonmauer setzen. Diese ist ebenfalle aus Styrodur. Die Betonplatten sind 2,5x4cm und die Pfosten sind 5x5mm groß. Zusammen geklebt habe ich diese Teile mit Heißkleber. Das ging sehr gut. Man darf nur nicht zu viel an der Klebepistole drücken sonst quillt der Kleber zu schnell heraus.
|
||
 |
 |
 |
 |
 |
 |
 |
 |
 |
 |
Alle Bilder dazu könnt ihr auch in meinem Google Fotoalbum ansehen
|
 |
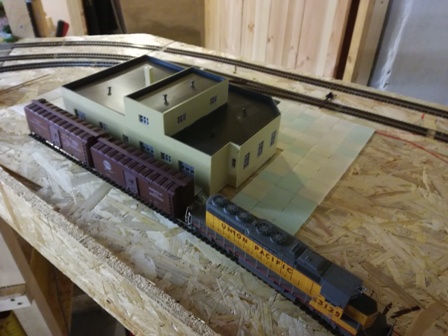
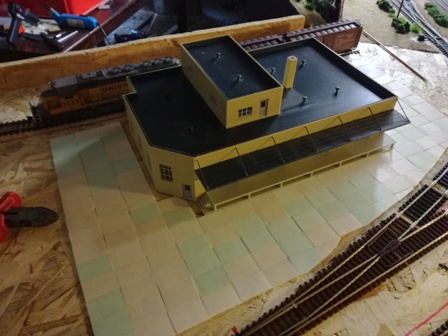
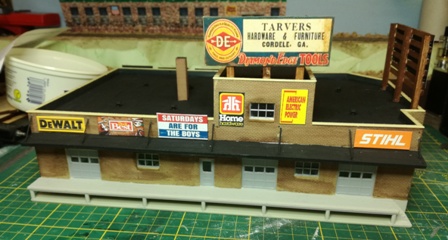
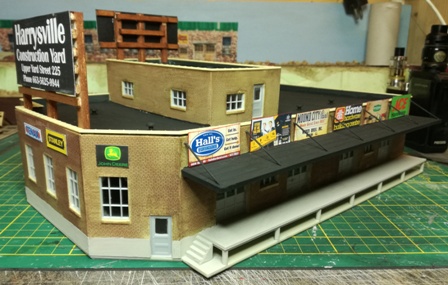
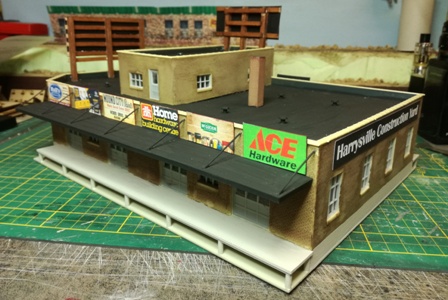
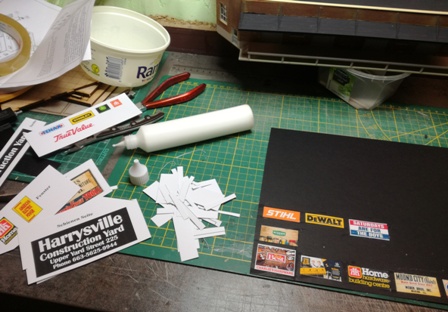
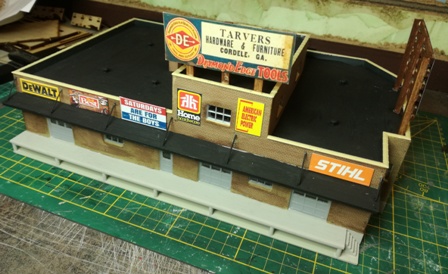
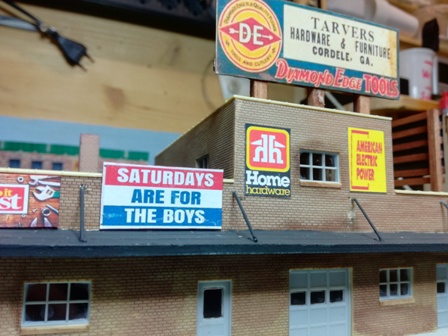
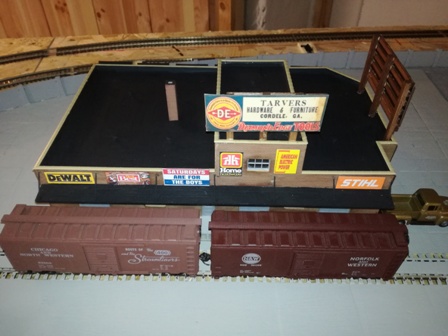
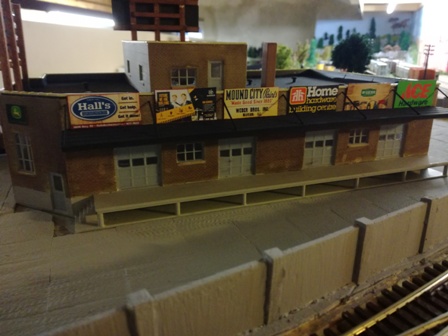
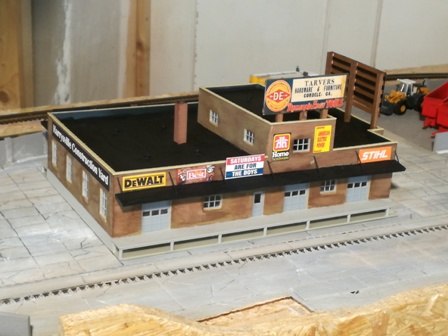
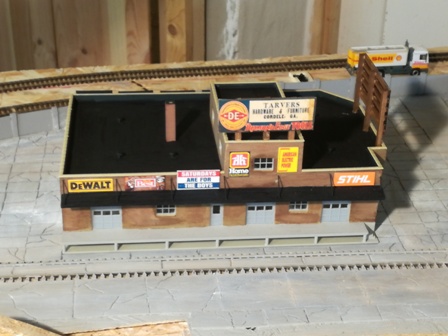
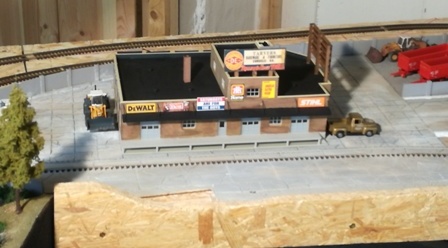
| Nun ging es weiter am Bauhofgebäude. Am Dach wurden noch einige Kleinigkeiten vom Bausatz angebracht und danach wurde das Dach mit Schwarz-matt gestrichen. Jetzt fehlte noch die Werbung auf dem Gebäude. Dazu habe ich am PC mir verschiedene Werbung-Plakate aus dem Internet ausgedruckt. Zusätzlich noch mein eigenes Bauhofschild entworfen, welches als Billbord auf dem Dach zu stehen kommt. Die einzelnen Plakate habe ich auf schwarze Pappe aufgeklebt. Damit werden sie stabiler und man hat automatisch einen schwarzen Hintergrund.
|
||
 |
 |
 |
 |
 |
|
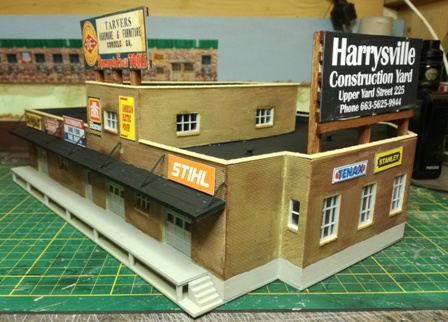
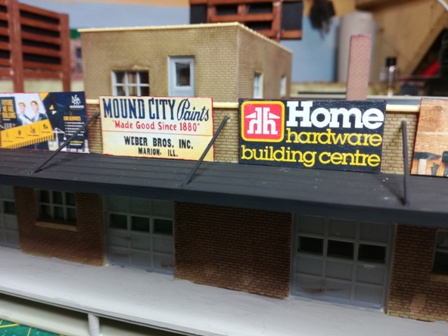
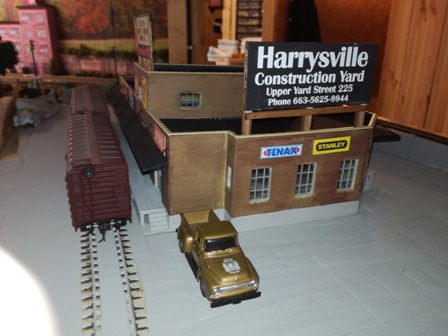
| Für die Billboards auf dem Dach habe ich aus Balsaholz entsprechende Halterungen gebastelt. Anschließen sind diese dann mit normale Holzbeize behandelt worden.
|
||
 |
 |
 |
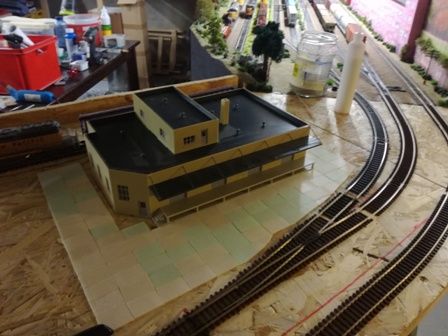
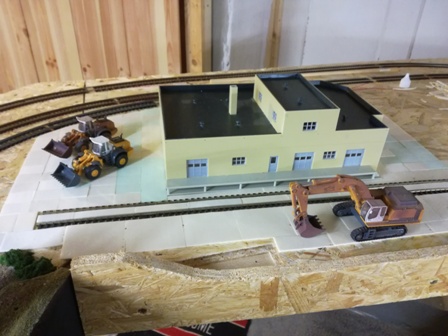
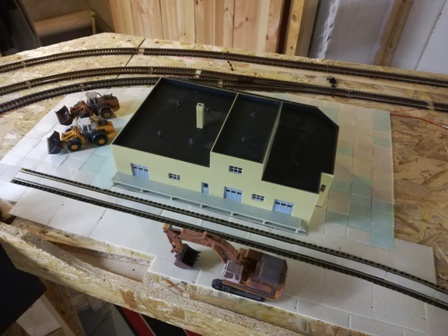
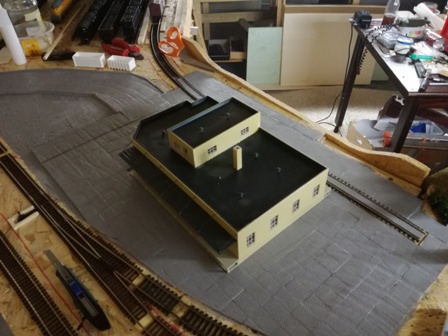
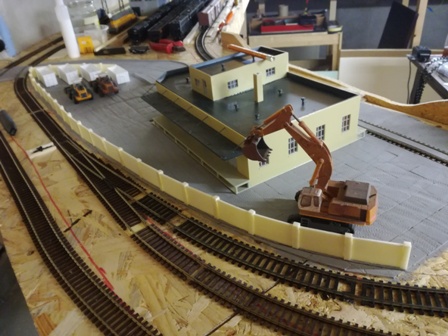
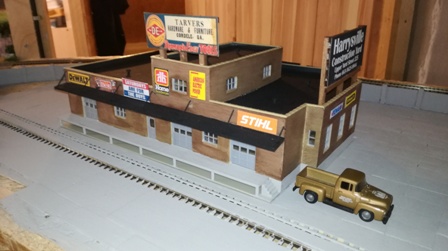
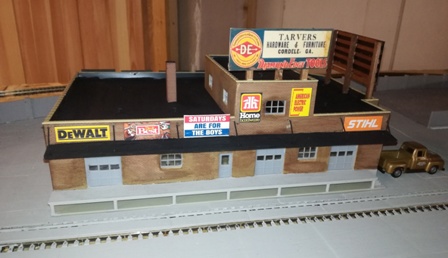
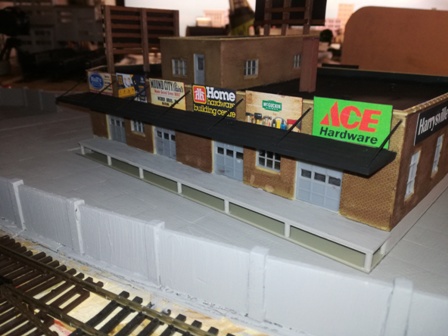
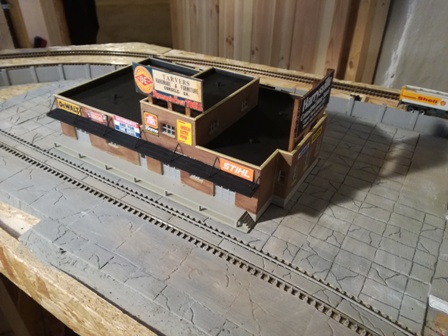
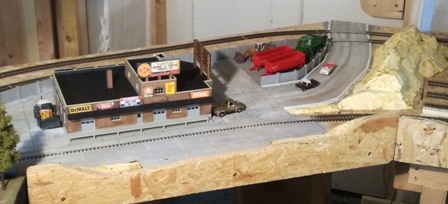
| Hier nun das Gebäude auf der Anlage
|
||
 |
 |
 |
 |
 |
 |
 |
 |
 |
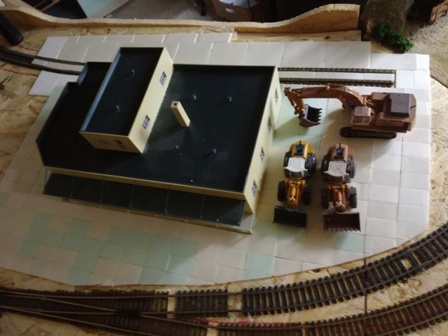
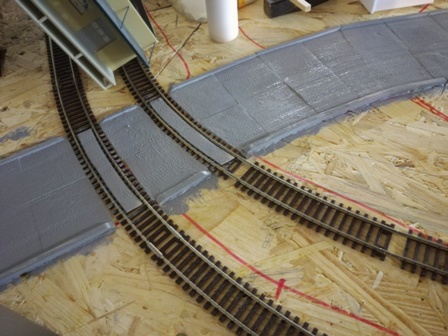
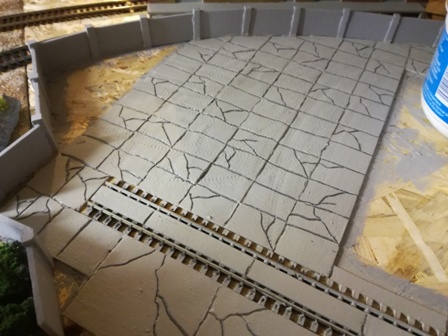
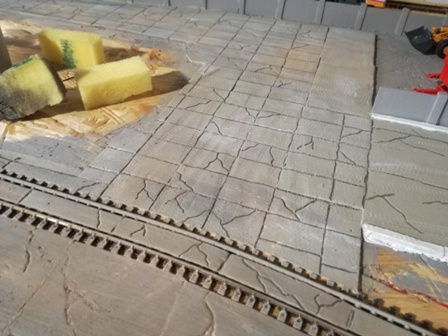
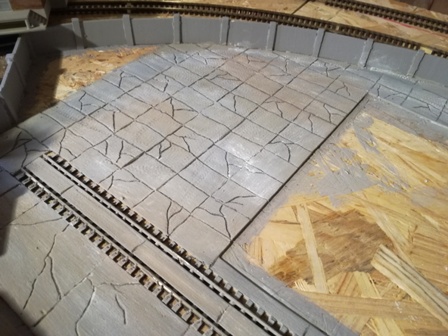
| Weiter ging es nun an den Betonplatten. Mit einem Bleistift habe ich alle Fugen von den Platten nachgezeichnet und entsprechende Platten mit Rissen versehen.
|
||
 |
 |
|
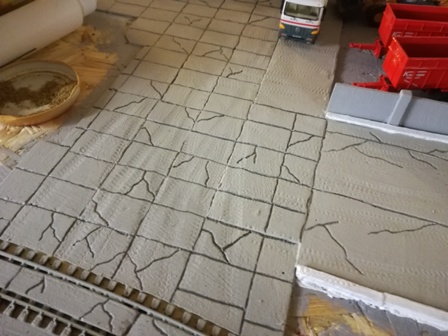
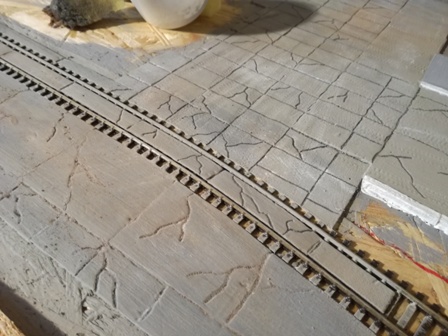
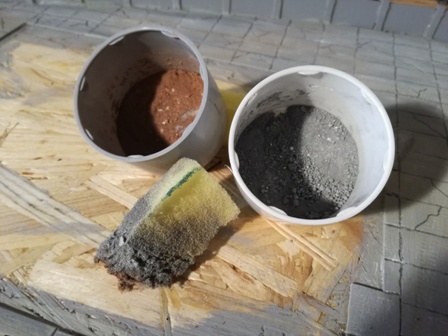
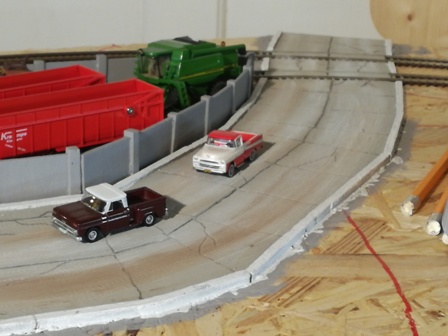
| Als nächstes habe ich die Betonplatten mit Pigmentfarbe bearbeitet. Dazu benutze ich etwas von der Betonfarbe und ein Stück Schwamm. Den Schwamm feuchte ich ein wenig mit der Betonfarbe an und tunke ihn in das Pulver der Pigmentfarbe. Die Pigmente habe ich mit etwas Grau und weiß gemischt. Zusätzlich habe ich als zweiten Schritt noch etwas Braun mit Rot gemischt und bin über einige Stellen dezent drüber gegangen.
|
||
 |
 |
 |
 |
 |
 |
 |
 |
|
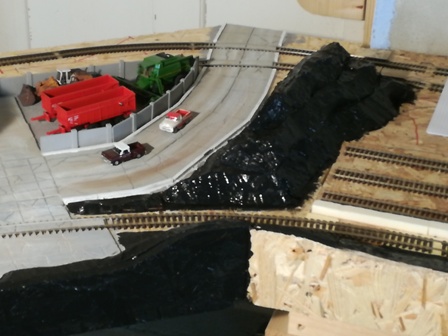
| Die Upper Yard Street wurde entsprechend auch mit den Pigmentfarben angepasst.
|
||
 |
 |
 |
 |
||
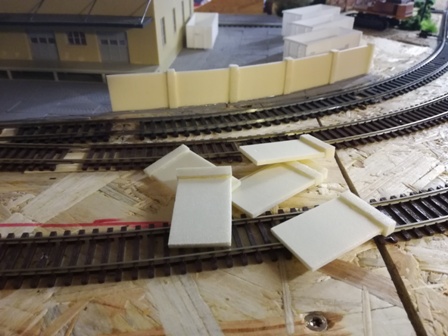
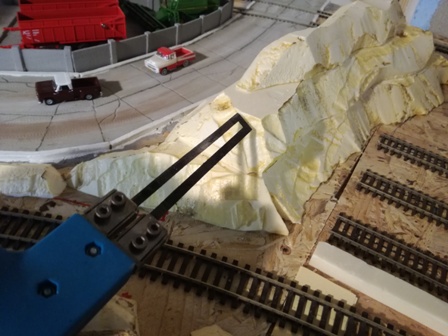
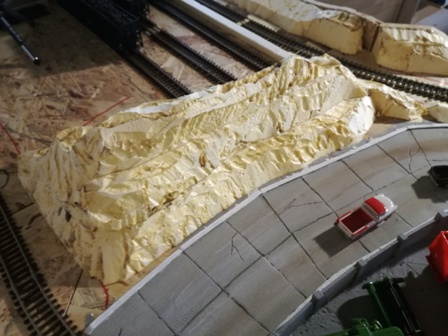
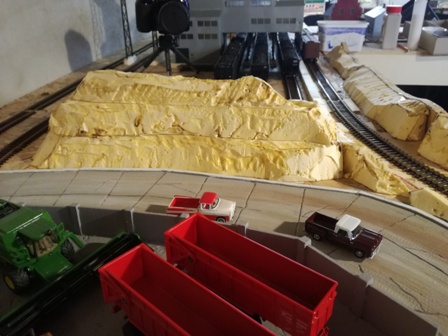
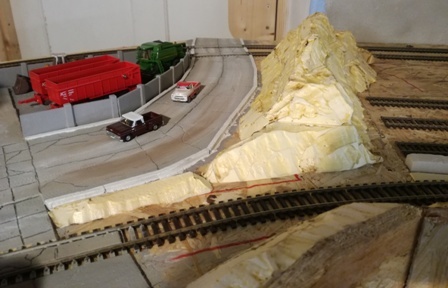
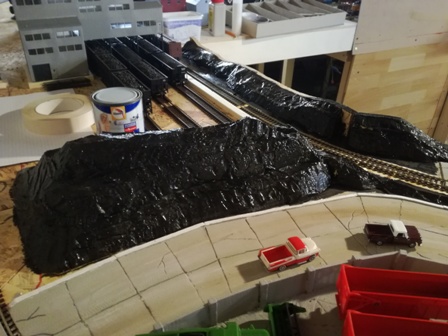
| Der nächste Schritt war nun einen Berg zwischen Kohlenmine und dem Bauhof zu gestalten. Dafür benutze ich Styrodur und habe aus drei Schichten von einer Platte diese Stücke ausgeschnitten. Um nun die geeignete Struktur zu bekommen habe ich mit dem Styrodurschneider über die Flächen gestrichen. Durch die Hitze des Messers bekam ich dann diese Form.
|
||
 |
 |
 |
 |
 |
|
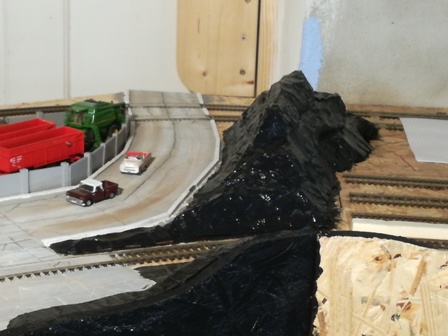
| Jetzt habe ich den Berg erst einmal mit schwarz grundiert.
|
||
 |
 |
 |
 |
||
|
© Catacombs of Hisfield / Germany Since 2009 - 2025 |